
Description
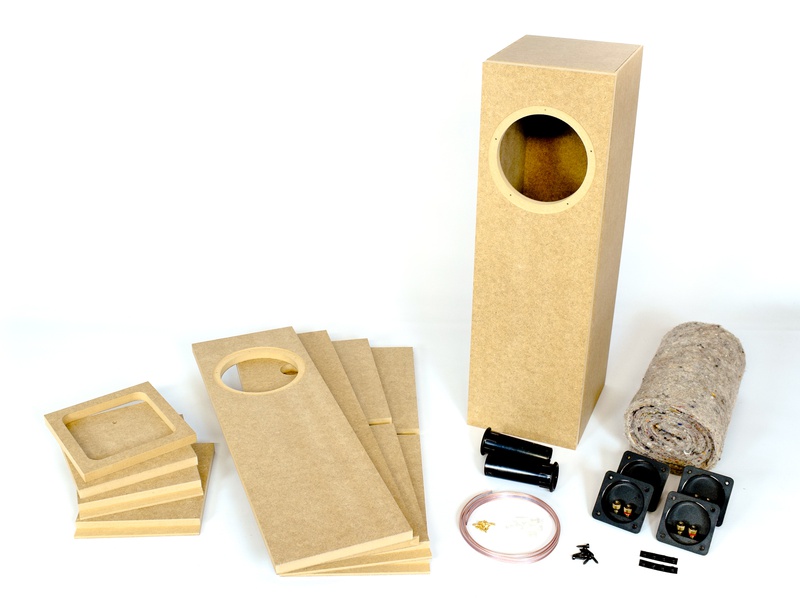
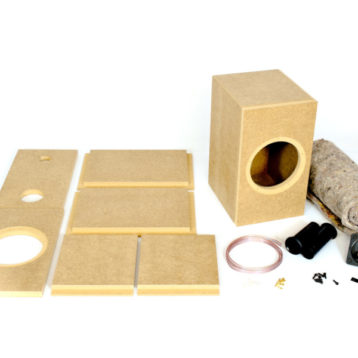
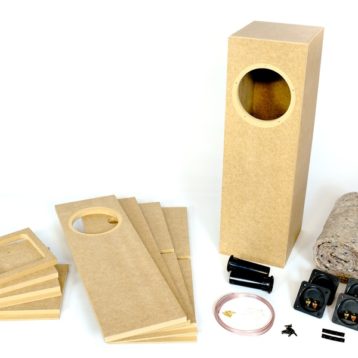
Our SL11-BE cabinets are precision CNC machined from 18mm MDF and have rabbet joints to make them easy to put together. They are specifically for the Markaudio CHN-110 and Pluvia 11 drivers. As these drivers have the same number and position of fixing holes, they can be used inter-changeably with these cabinets. They are designed to “extend the bass” when used in conjunction with our SL11-SD standmount speakers.
We also sell high quality ready-made cables and a DIY cable kit that you can use to make cables to connect your speakers to your amplifier, and speaker outriggers if you want to stand your speakers on spikes.
Pre-Built Cabinets
If you choose pre-built cabinets, we will glue the cabinets together and stick acoustic wool felt to the inside. We will give the cabinets an initial sanding, but depending on the level of finish required, you may need to do some additional sanding. The drivers, recessed terminal cups, and port tubes will not be fitted, and this is something that you will need to do yourself. We will however build the cables that you will need to connect the crossovers to the drivers and upper terminal cups rather than supplying the component cable and crimps. If you require a fully finished (veneered or painted) speaker, please contact us using this form, as this will be a bespoke build that we will need to quote for separately based on your requirements.
Pre-Built Crossovers
If you choose pre-built crossovers, we will solder the components on to the PCBs and the PCBs to the terminal cups for you and then test them. All that you need to do is install them and connect the cables to the drivers and to the upper terminal cups.
Instructions
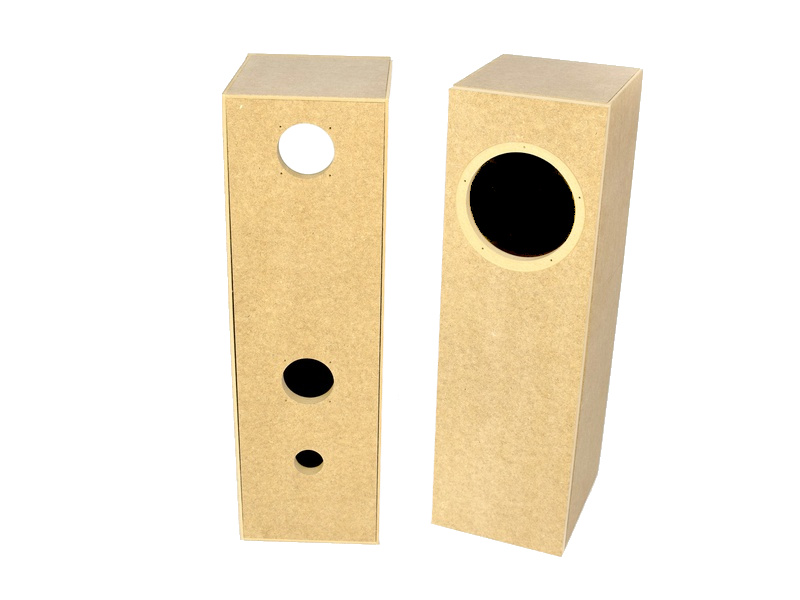
1) Test assemble the cabinets to ensure that you understand how the cabinets go together before you glue them. The cut-outs in the rear panels for the port tubes should be at the bottom of the cabinets.
2) Glue the back, top, bottom and sides of the cabinets together. Fit the front baffles without using glue and clamp together. It is important to ensure that you don’t glue the front baffles to the cabinets at this stage as it will make it impossible to stick the acoustic wool felt to the inside of the cabinets. Leave for at least an hour and ideally overnight.
 Wood glue is not included with this kit, but is available here.
3) Cut the acoustic wool felt into suitably sized pieces for the front baffles, back, top and bottom and side panels of the cabinets. Spray the inside of the cabinets and one side of the acoustic wool felt pieces with contact adhesive. Leave for a few moments to allow the solvent in the contact adhesive to evaporate. Fit the pieces to the inside of the cabinets. Cut the pieces on the back panels so that the port tubes and terminal cups can be fitted.

Contact Spray adhesive is not included with this kit, but is available here.
4) Glue and clamp the front baffles in place. Leave for at least an hour and ideally overnight.
5) Remove all excess dried glue by rubbing with a damp cloth and then sand the joints until the desired finish has been achieved.
6) Paint or veneer the cabinets.
7) The port tubes should be cut to 64mm in length using a hacksaw. To ensure a consistent length around the circumference of the cut, wrap some tape around the port tube to act as a guide. Tap the port tubes into place with a rubber mallet. Optionally, a thin line of blu tack can use under the lip of the port tubes to improve the seal.
8) Cut the polyester damping sheet into 180x145mm pieces and place three of these at the bottom of the cabinets and compress them to fit underneath the port tube.
9) Solder the components for the crossovers on to the PCBs in the marked places. Fit each crossover to the back of a terminal cup and solder in place.
10) Build the cables to connect the crossovers to the drivers and upper terminal cups, using the supplied cable, crimps and insulating boots. The end of the cables that will connect with the crossovers should have 6.3mm crimps fitted. The end of the cables that will connect to the upper terminal cups should have 4.7mm crimps fitted. If using Pluvia 11 drivers in your speakers, the end of the cables that will connect to the drivers should have 6.3mm crimps fitted. If using CHN-110 drivers in your speakers, the end of the cables that will connect to the drivers should have 4.7mm crimps fitted.
11) Attach the cables to the crossovers and fit them to the cabinets using the included screws.
12) Attach the other end of the appropriate cables to the upper terminal cups drivers and fit them to the cabinets using the included screws.
13) Attach the other end of the appropriate cables to the drivers and fit them to the cabinet using the screws supplied with the drivers.
14) Place your SL11-SD speakers on top of the SL11-BE speakers and connect them together with speaker cable. There is enough cable in your kit to do this, though we suggest making up proper jumper cables with connectors at each end rather than connecting them with bare wire. Connectors for this are available here.
15) Happy listening!

Reviews
There are no reviews yet.