Description
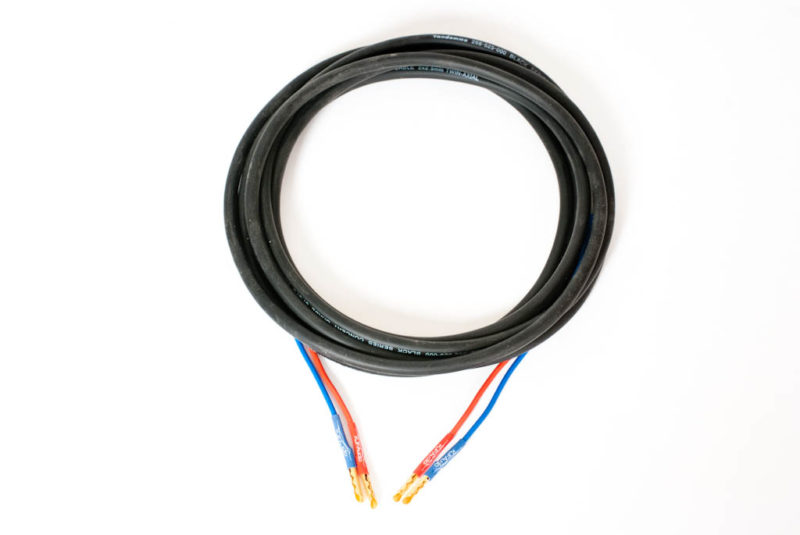
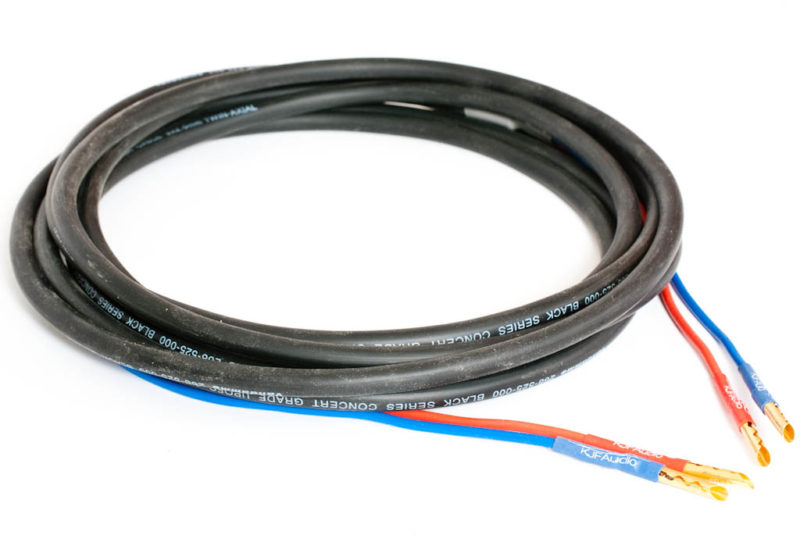
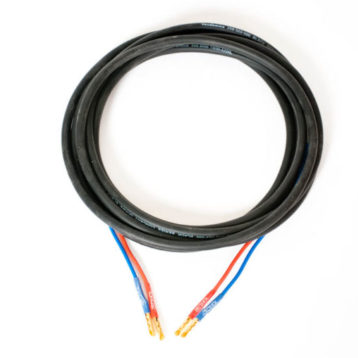
We have noticed over the years, a worrying trend toward more and more expensive cables and decided to start supplying speaker cable kits that perform on a par with the expensive cables at a fraction of the cost. If you don’t want to build your own, that is no problem, we can do that for a small fee.
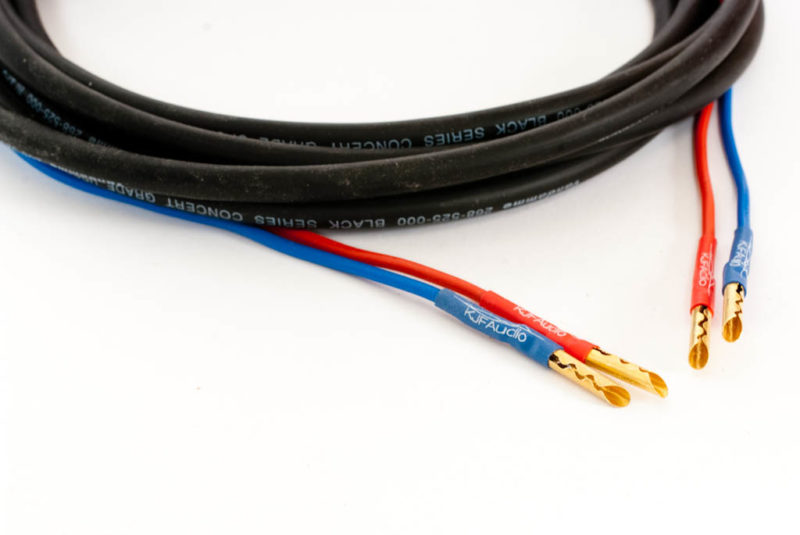
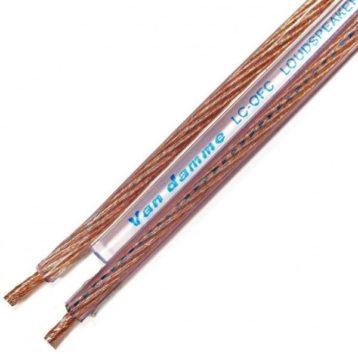
Following our experience with Van Damme cables which are supplied with most of our kits, we have been struck by how incredibly easy they are to work with . These relatively low cost cables are composed of very high purity OFC copper multi strand wire and are incredibly flexible. There are 2 versions of the cable sold here , a thinner 1.5mm² for low powered amp high efficiency speakers, the thicker 2.5mm² version for everything else. We can supply thicker cables on demand but they are not presented here, if you want anything else, please do contact us directly.
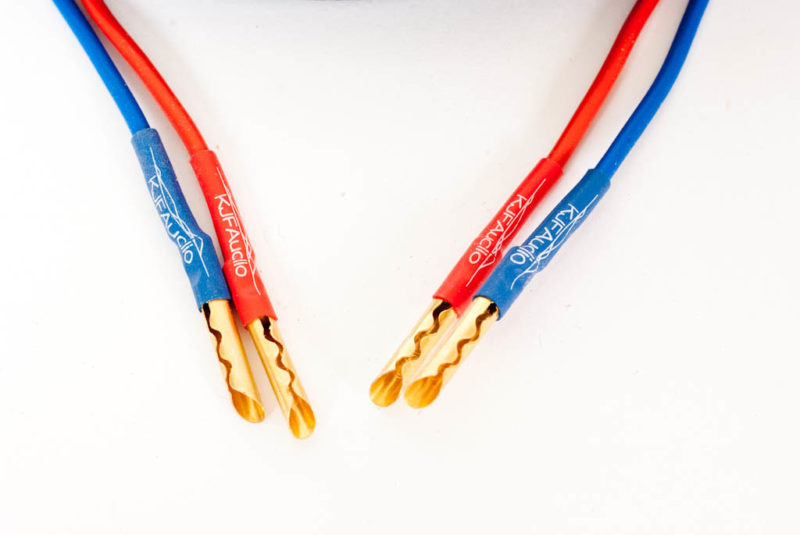
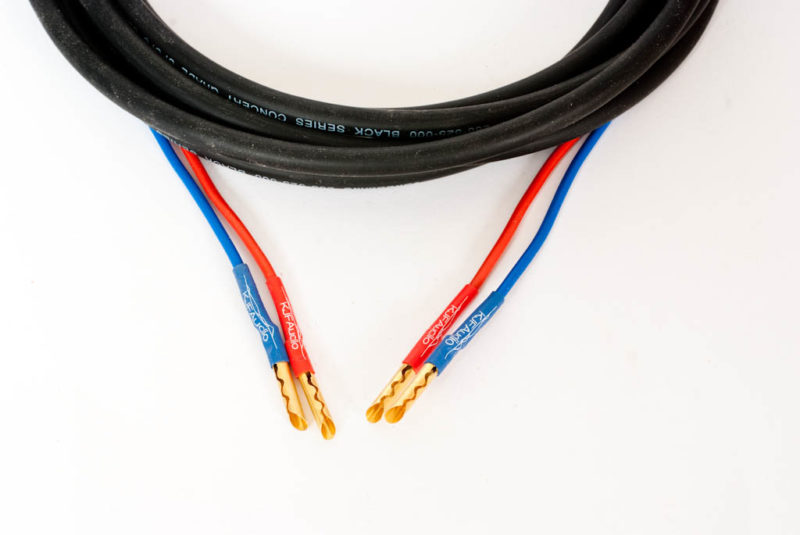
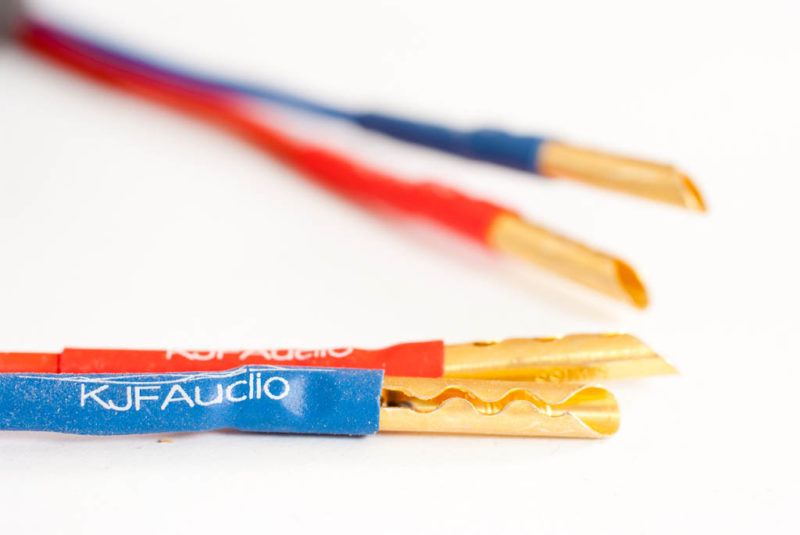
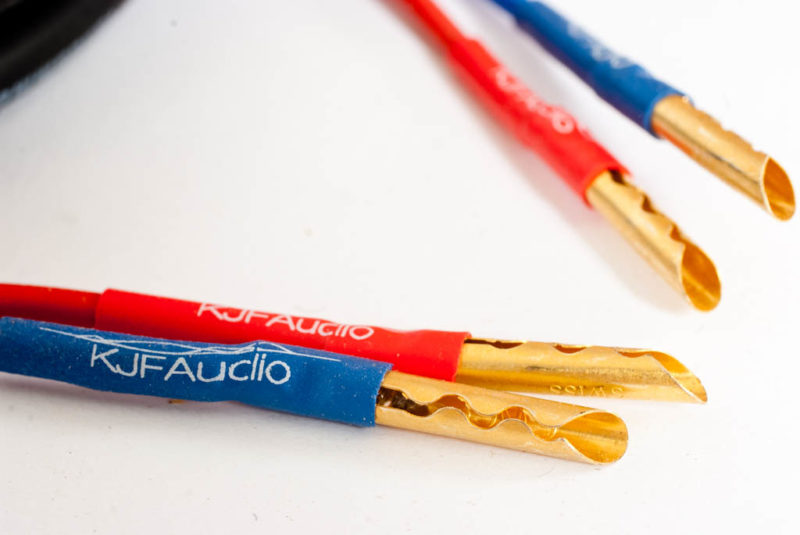
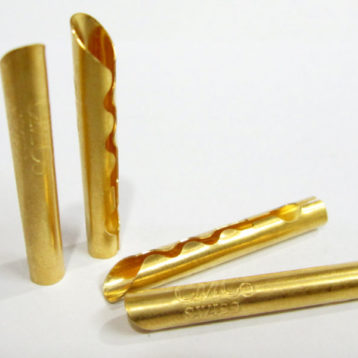
We are using the CMC minimalist gold plated 4mm Banana Z plugs with solder fixing. These offer superior contact when inserted into a binding posts than standard z plugs as the contact patch is much larger than those plug generally manage.
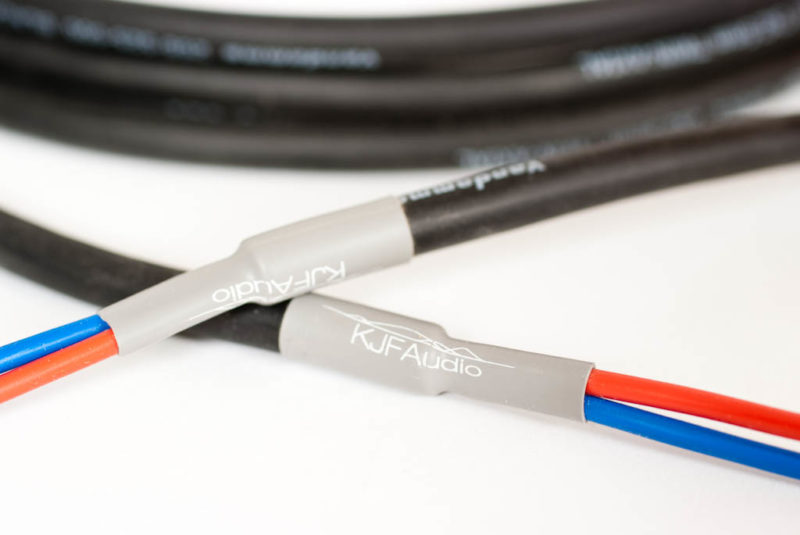
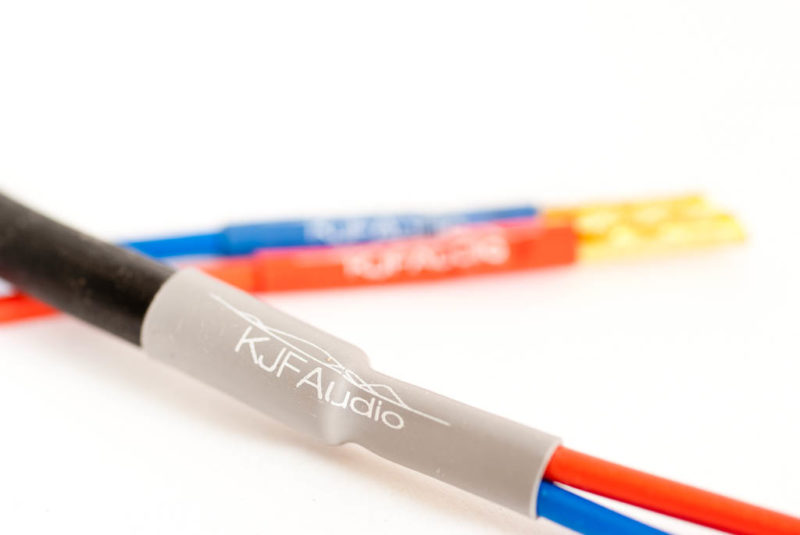
To finish the cable we supply KJF Audio branded heatshrink. This method allows you to get that elusive professional finish and provides a strain relief at the most vulnerable point in the cable, where the connector joins. The heatshrink we use is the more expensive polyolefin 3:1 shrink. This kind doesn’t shrink along it’s length, only its diameter, because it’s 3:1 it really grips down on the cable and provides a good solid structural support. Some cable kits we have seen have layers and layers of cheap 2:1 shrink which create an ugly join in the name of structural stability, these 3:1 custom made heat shrinks will provide a much better grip of the cable while at the same time creating a minimalist, elegant and professional finish. They come with blue and red shrink covers for the positive and negative cable cores and a larger grey one to make a neat finish to where the outer sheath has been cut.
Instructions:
The first job is to cut the sleeving back a distance from the end to suit your application, we suggest at least 15cm. Do this carefully with a Stanley knife, kraft knife or scalpel around the outer sleeving around the perimeter, don’t cut all the way through. Bending the wire after you cut will open the cut down to the cores. Once you have cut done, the sleeving should easily pull off in with a steady and continuous pull.
Using the same method for the inner cores, strip off 10mm exposing the cooper underneath. give the copper strands a little twist to make sure they don’t look frayed.
The heat shrink is already cut to length, so you will just need to slip the grey one down to where you cut the sheath so that half of it is over the sheath and half is covering the cores. Shrink with a heat gun or similar.
Push the exposed copper into the connector so that the red or blue insulation is right up against the connector, take a hot soldering iron and place it in the hole on the connector, once the copper and the connector are hot apply some solder. See our cable construction video for some good tips on how best to do this.


Reviews
There are no reviews yet.